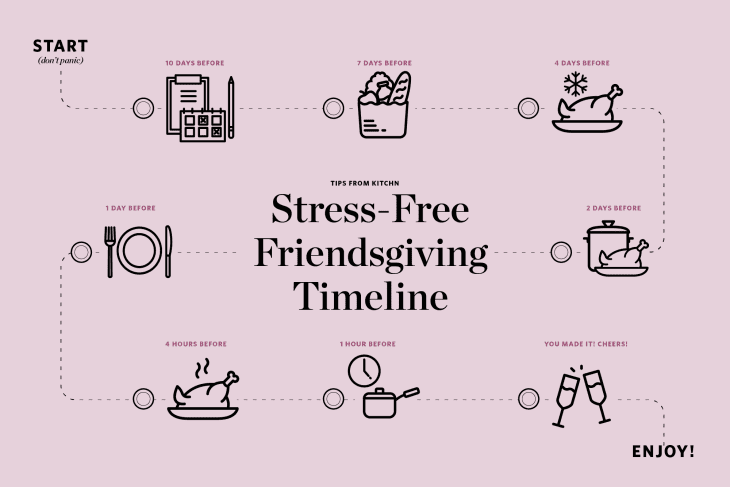
A 10-Day Timeline for Hosting Friendsgiving
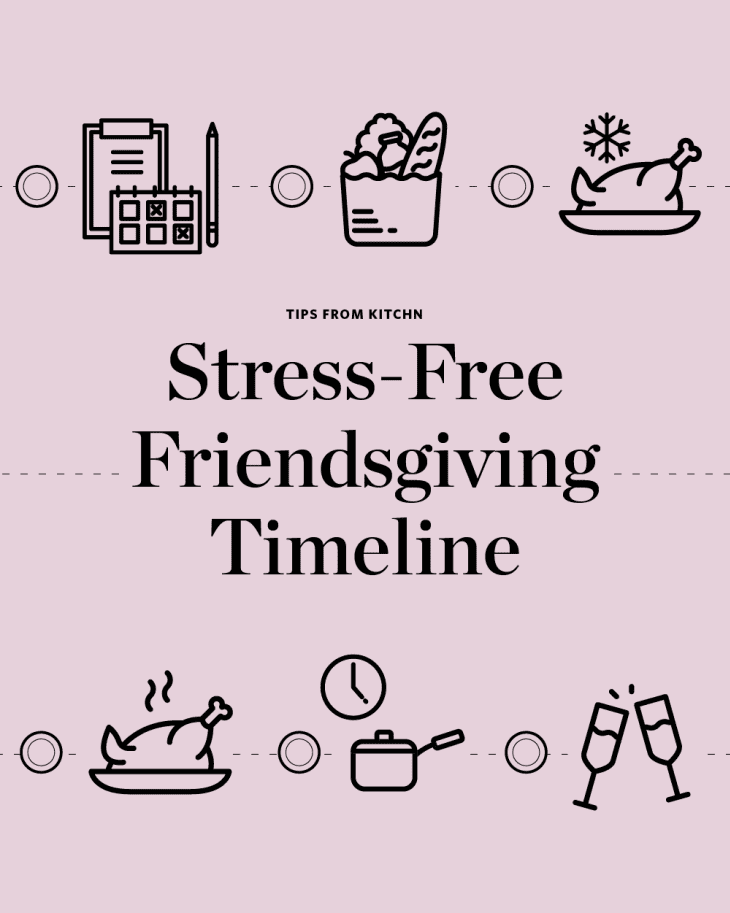
Whether it’s your first time hosting Friendsgiving or you’ve played host a few times before, this is the 10-day timeline that will set your celebration up for success. From sending out a side dish sign-up sheet to buying the bird, here’s how to do it.
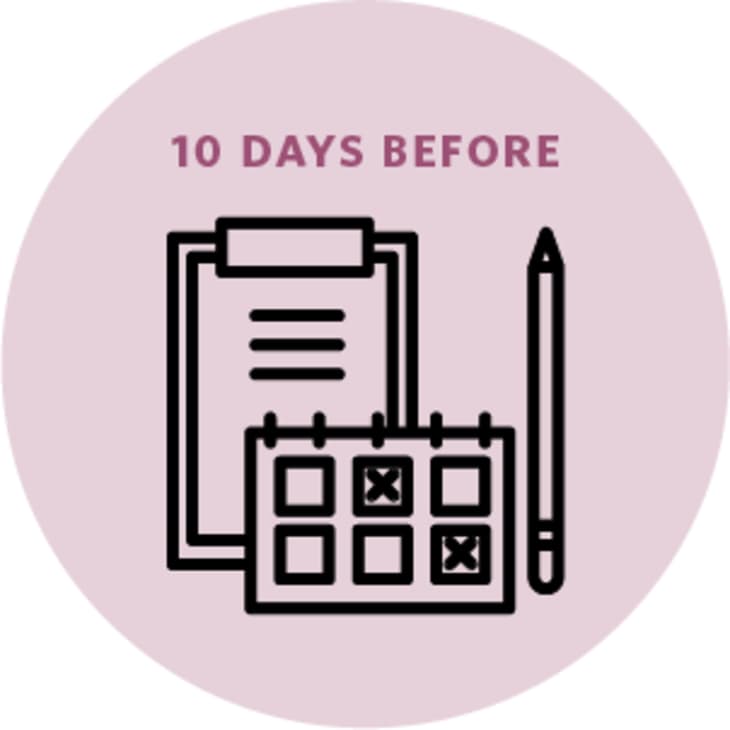
10 Days Before Friendsgiving: Make Your Plan
I believe that the sooner you get planning, the smoother things will roll along. And while it’s never too soon to start planning your Friendsgiving, about 10 days before the feast is a good time to get started. For Friendsgiving, the host usually prepares the main — in this instance, we’re talking turkey — and the sides are brought by the guests. This plan will give you the details for working that particular plan.
- Check kitchen equipment: Make sure you have everything you need. Pull out all the cookware, tools, and ingredients you’ll need to cook the turkey, and pick up anything you’re missing. I’m talking about everything from the roasting pan and rack, to a meat thermometer and baster. Also, if you haven’t used your oven in a while and it tends to be finicky, make sure it won’t give you any surprises.
- Send out a sign-up sheet for dishes: Since you’re hosting, you’re only obligated to make the turkey and gravy. Now’s the time to have guests sign up for the dish(es) they plan to bring. Google Sheets is my favorite easy and efficient way to keep track of who’s bringing what. Make categories for vegetarian, gluten-free, etc.
- Take an inventory of dinnerware, silverware, and glasses: What’s the status on your plates, forks, and knives? Make sure you have enough to get you through dinner and dessert. If not, ask you pal with the pretty plate collection for assistance. Or buy some nice enough paper plates and plastic utensils. There are plenty pretty ones to chose from!
- Plan your turkey method: How will you cook your turkey for your Friendsgiving dinner? Do you want to keep it classic or go for something a little more adventurous? And will you cook the whole bird or just the lean breast? Make sure to read through that recipe before cooking day!
Our Favorite Turkey Recipes for Thanksgiving
- How To Cook a Turkey: The Simplest, Easiest Method: This is the classic roast turkey, with crispy skin and tender, juicy meat.
- How To Make a Bacon-Wrapped Turkey: Give your turkey a bacon blanket.
- How To Roast a Turkey Upside Down: Yes, turkey can be cooked upside down. It’s faster and makes for juicier white meat.
- Coke-Glazed Upside-Down Turkey: While cola and turkey might not seem like a natural pairing, the two work well together in this slightly sweet, quirky recipe.
- Pati Jinich’s Mexican Thanksgiving Turkey: Spices and citrus join forces for this twist on the main course.
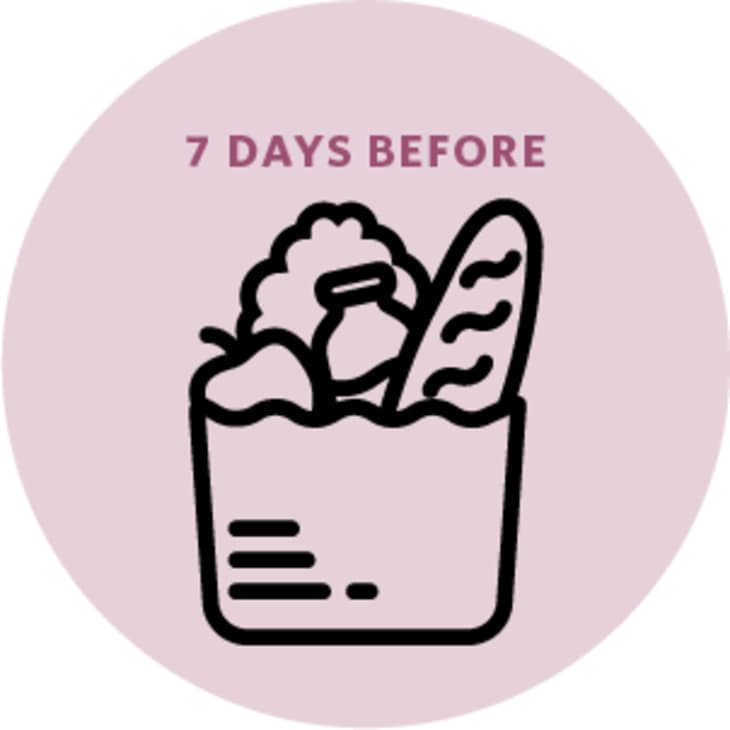
7 Days Before Friendsgiving: Time to Shop
Make a list, check it twice, and buy your turkey.
- Check for ingredients and make a shopping list: Before hitting the store, make a list of all the ingredients you’ll need for the turkey, gravy, and anything else you plan to make. Then check the pantry, fridge, and freezer to see what you already have on hand.
- Buy the turkey: Whether you’re going with fresh or frozen, about a week before Friendsgiving is a good time to pick up the turkey.
Tips for Buying the Turkey
Your Turkey-Buying Cheat Sheet
Whether you want a little bit of leftovers, a lot, or none at all, this sheet will help you buy the right-sized bird for your needs.- How Much Turkey per Person? Use This Rule of Thumb: Do you know the right amount of turkey to feed your guests? Work out that number to make sure your bird is big enough.
- A Complete Guide to Buying a Thanksgiving Turkey: Everything you need to know from how much to buy, to deciding between fresh and frozen.
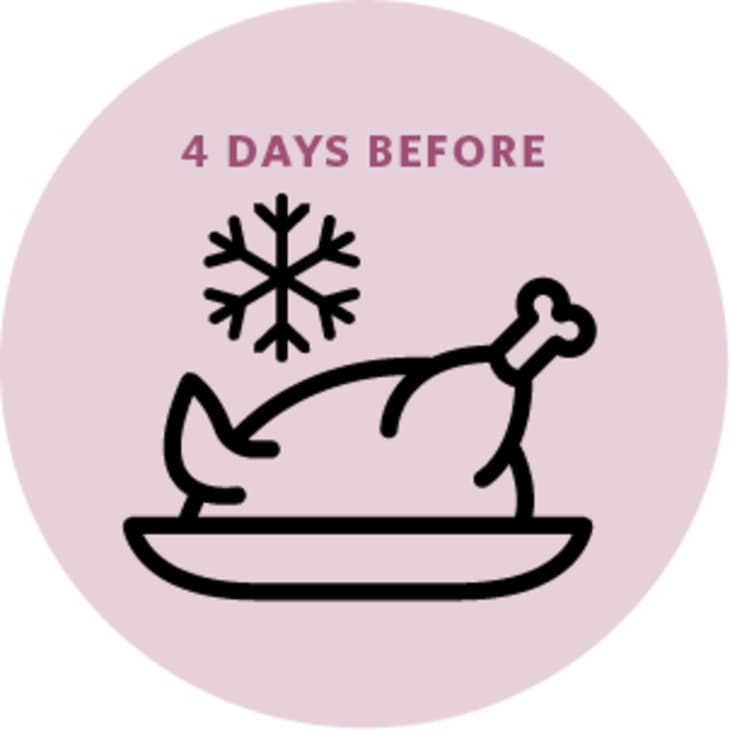
4 Days Before Friendsgiving: Thaw the Turkey!
If you have a frozen turkey, remember that it needs plenty of time to thaw.
- Thaw the turkey: If you bought a frozen turkey, start defrosting it in the refrigerator now!
Here’s how: How To Safely Thaw a Turkey
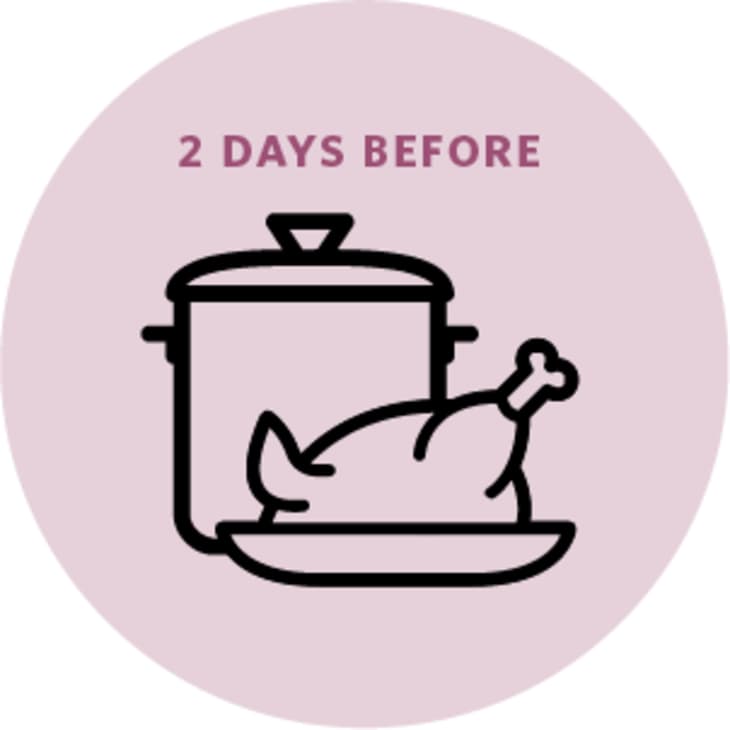
2 Days Before Friendsgiving: Time to Brine
If you’re planning to brine the turkey, now’s the time to get started on that. It’s also a good time to tidy up in preparation of guests.
- Brine the turkey (if you like): Brining is totally optional, although it’s an easy process and makes for a succulent turkey. If you do plan to brine, get started one to two days before roasting. But first double check to make sure the turkey isn’t pre-brined; some brands like Butterball come already seasoned.
More on Brining a Turkey
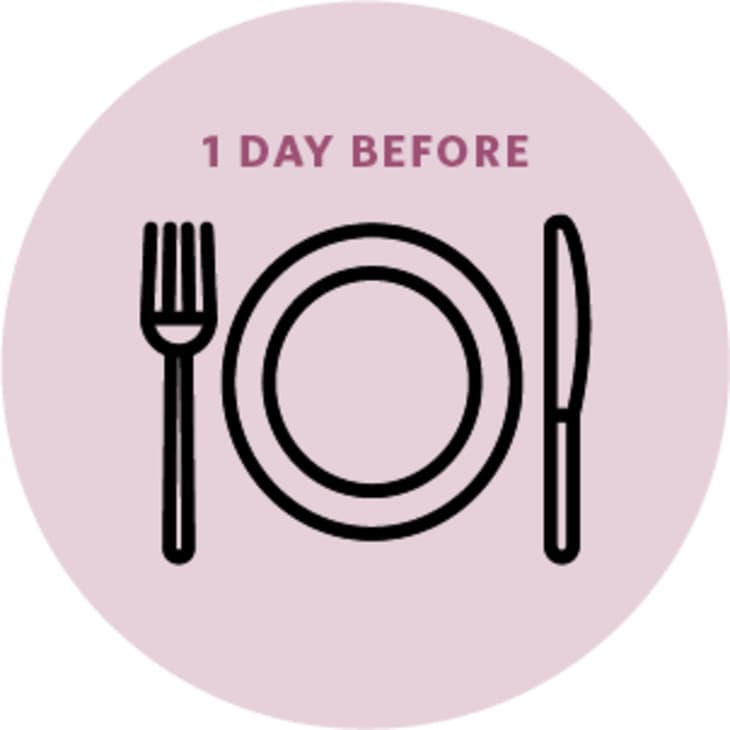
The Day Before Friendsgiving: Set the Table
No reason to wait until the last minute to
set the table
- Set the table: Get this done the day before and you’ll have one less thing to worry about before all your friends arrive. Trust me — you’ll appreciate this later.
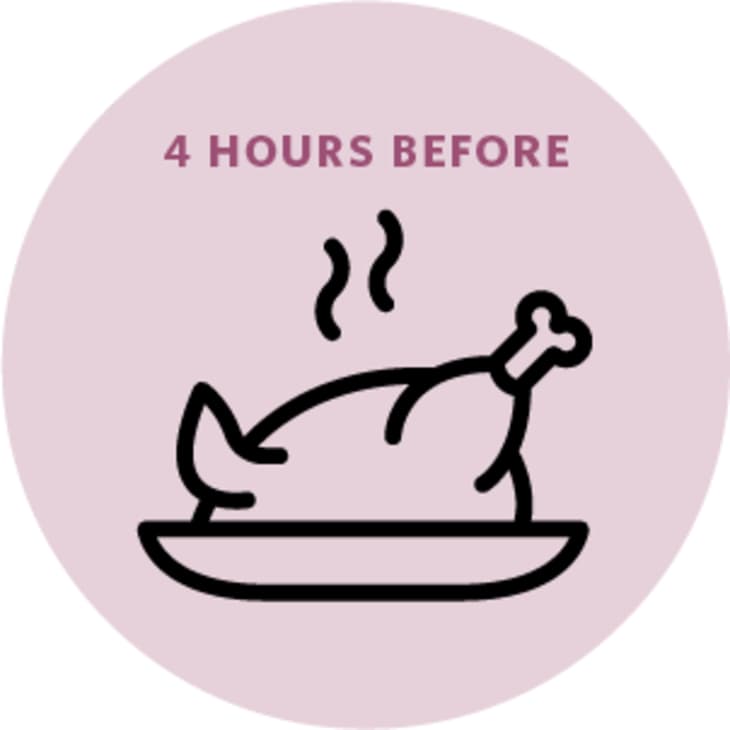
4 Hours Before Friendsgiving: Cook the Turkey
Time to get cooking.
- Cook the turkey: Thirty minutes to an hour before the turkey needs to start roasting, turn on your oven and let the turkey sit out at room temperature while it’s heating up. It’s a good idea (although not required) idea to baste the turkey while it cooks.

1 Hour Before Friendsgiving
It’s almost time to eat! Here are the last-minute tasks you’ll need to tackle.
- Rest the turkey: Your turkey should be done by now, so move it to a serving platter or carving platter and let it rest. If you’re serving it carved, do it about 30 minutes before dinner and cover it with foil to keep warm.
- Make the gravy: If you are making gravy from the drippings, do it now. If you have make-ahead gravy, get it into the saucepan.
- Fill water glasses and pitchers: Designate someone to fill up water glasses and pitchers.
- Clean up the kitchen: If you have the luxury of time or a helpful guest, get the sink cleared and the dishwasher running. “Clean as you go” is a good mantra for these big cooking days.

Cheers!
You did it! Sure, there might be a few snafus along the way, but when you sit down to enjoy this meal with your best pals, you can leave all the worry and stress behind. There’s so much to be grateful for, and the company is just the start of what you’re here to celebrate. Enjoy!