How to Make a Carved Pumpkin Last Longer

If you’re headed to the pumpkin patch soon, I bet you are hoping that the pumpkins you buy now will last through Thanksgiving, right? Sadly, that’s not guaranteed: Pumpkins are organic, so there’s no way to stop the rotting process indefinitely. But there are smart, natural, and thrifty ways to keep your carved pumpkin fresh and extend its life through Halloween and beyond!
How to Make a Carved Pumpkin Last Longer
We spoke to an expert about choosing pumpkins that will last and then preserve them as long possible through the fall holidays. Here are the five best ways to preserve your carved Halloween pumpkin and keep it looking great. I spoke to Mat Franken, CEO of natural cleaning product company Aunt Fannie’s. Here’s Mat’s advice for making those carved pumpkins last through Halloween and beyond.
First, Pick a Long-Lasting Pumpkin
The best way to ensure the longevity of your jack-o’-lantern is to pick a healthy pumpkin to begin with. While there’s no such thing as the “perfect” pumpkin, there are several things you can look for to make sure your jack-o’-lantern is off to a great start.
- Pick local. Purchasing from a local pumpkin patch means your pumpkin has been spared the bruising and battering that comes along with being shipped across the country in the back of a truck. Check out Local Harvest for a listing of pumpkin growers and U-pick farms in your area.
- Inspect the skin. When you select a pumpkin, keep an eye out for gouges or blemishes. While dings and dents may give a pumpkin character, they also invite pests and encourage rotting.
- Poke and prod the pumpkin. If a pumpkin is even a little soft to the touch, the rotting process is already underway. What begins as a small, soft spot can grow into a large, caved-in mess overnight. Look for a pumpkin with even color and firm flesh. Poke around to find one that doesn’t give when pressed gently.
See our super-simple pumpkin carving guide: How To Carve a Pumpkin for Halloween

Next, Avoid What Makes a Pumpkin Rot
Before you start carving, it’s important to understand the factors that lead to pumpkin rot. Pumpkin skin provides a protective layer from the elements. Once the skin is broken, organisms like fungi, bacteria, mold, and insects are able to enter and begin breaking it down. Oxidation and dehydration also contribute to the rotting process, which means from the moment you make the first cut, the clock starts ticking.
5 Natural Ways to Make Your Pumpkin Last Longer
Many methods for sterilizing and preserving pumpkins involve the unnecessary use of harsh chemicals and environmentally unfriendly solutions. Common tricks include using bleach or apple cider vinegar, but Mat says no to both of these. Bleach is dangerous and apple cider vinegar will only attract bugs.
1. Scrape and discard the pumpkin guts.
When prepping your pumpkin for carving, be sure to scrape and discard as much of the pulp (aka pumpkin guts) as possible. The cleaner and drier the pumpkin interior, the slower the rotting process.
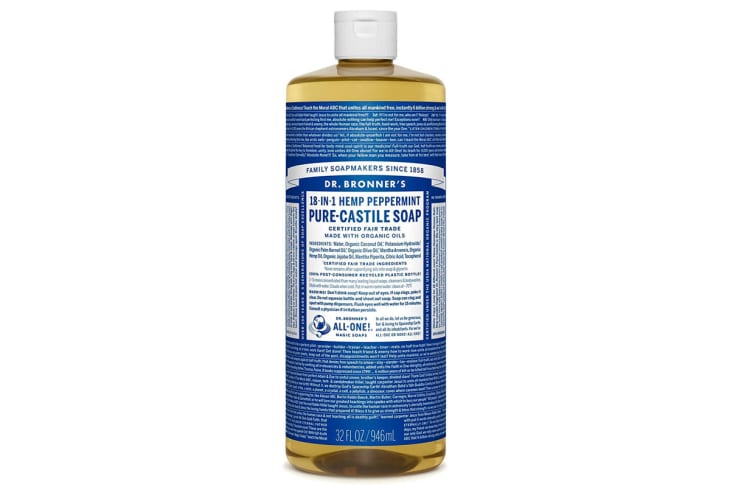
2. Clean with peppermint dish soap.
Dilute one tablespoon of peppermint dish soap such as Peppermint Castile Soap in a quart of water. Pour the mixture into a clean spray bottle and lightly spray the inside of your pumpkin. Peppermint is antifungal and will slow the decomposition process, significantly extending the life of your pumpkin.
3. Refrigerate overnight.
If it’s still warm in your neck of the woods, consider placing your carved pumpkins in the fridge at night instead of leaving them on the porch. Spray your pumpkins with the Castile soap-water mixture and wrap each one in a trash bag prior to placing in the fridge. This process will rehydrate your pumpkins each night.
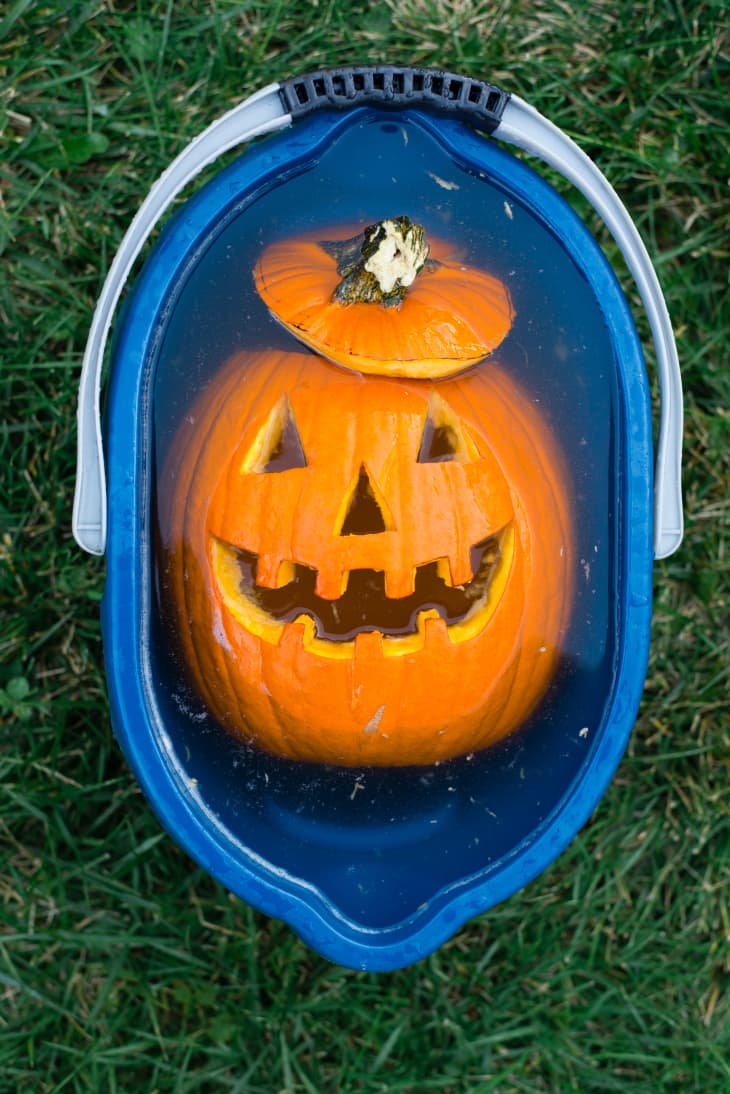
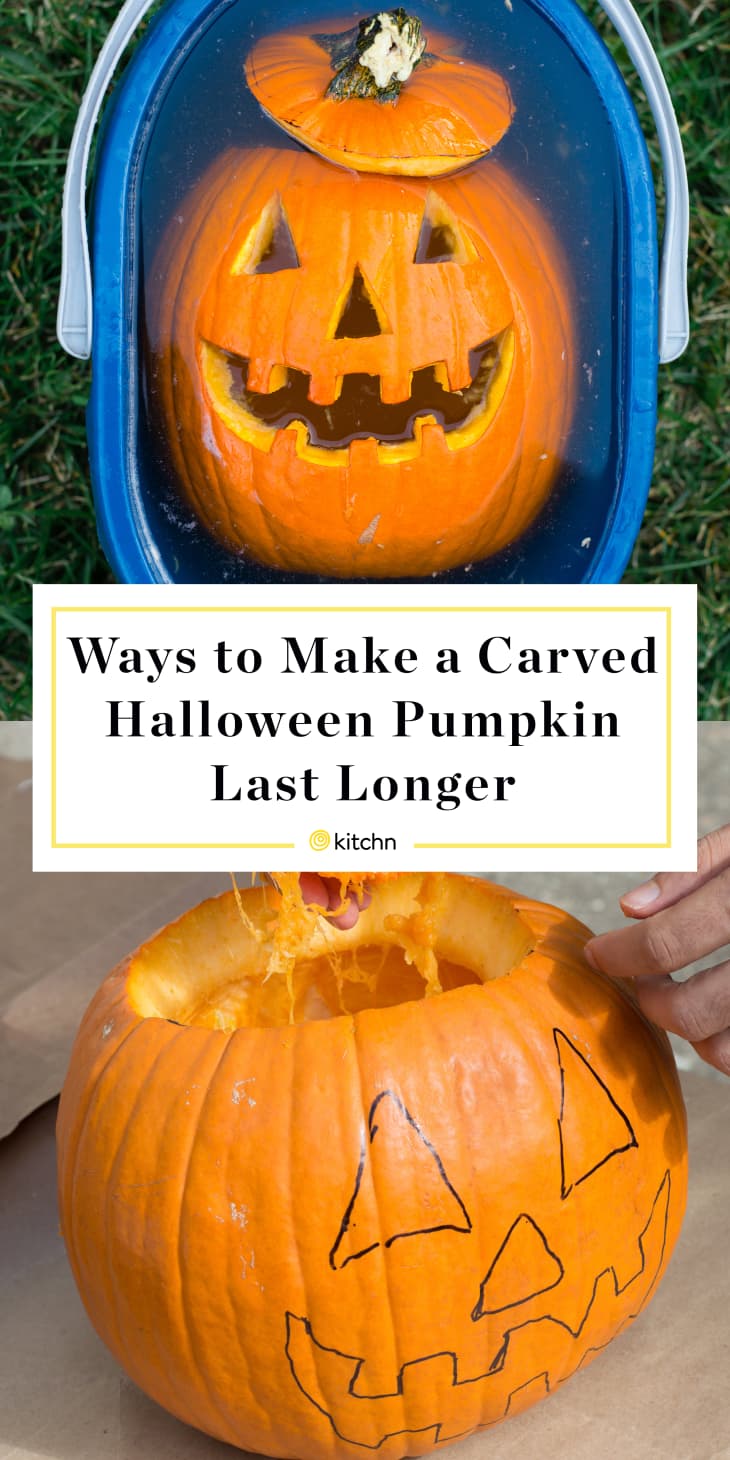
4. Soak the pumpkin overnight.
Another way to rehydrate your pumpkins is to fill a large bucket, bin, or tub with cold water and soak the pumpkins overnight. Typically, pumpkins set out for less than a week won’t need rehydration, especially if you live in a cool climate. If you notice yours beginning to wilt, however, take them for a dip!
5. Guard your carved pumpkin with a fruit fly trap.
Much like any other produce you bring into your home, pumpkins attract fruit flies. Drawn to rotting fruit and vegetables, fruit flies will expedite the process, leaving a damaged pumpkin and an infestation behind. Natural fruit fly solutions, like Aunt Fannie’s FlyPunch! or this DIY mixture, are poison-free ways to prevent fruit flies from settling in to do damage. Your pumpkin lives to see another day, and your home remains free from invaders.
More Pumpkin Carving Fun
What are your best tips for carving and preserving pumpkins?